Setting up your new email address or managing multiple accounts, the process is very user-friendly. In this article, we’ll let you know the steps to create a new email address in cPanel. Follow along to easily set up your new email account and get started with managing your professional emails like [email protected] in cPanel.
Step-by-Step Guide to Create an Email ID in cPanel:
1. Log into cPanel:
- Open your web browser and go to your cPanel login page (typically https://yourdomain.com/cpanel or https://cpanel.yourdomain.com).
- Enter your username and password to log in.
2. Navigate to the Email Section:
- Once you’re logged in, scroll down to the Email section.
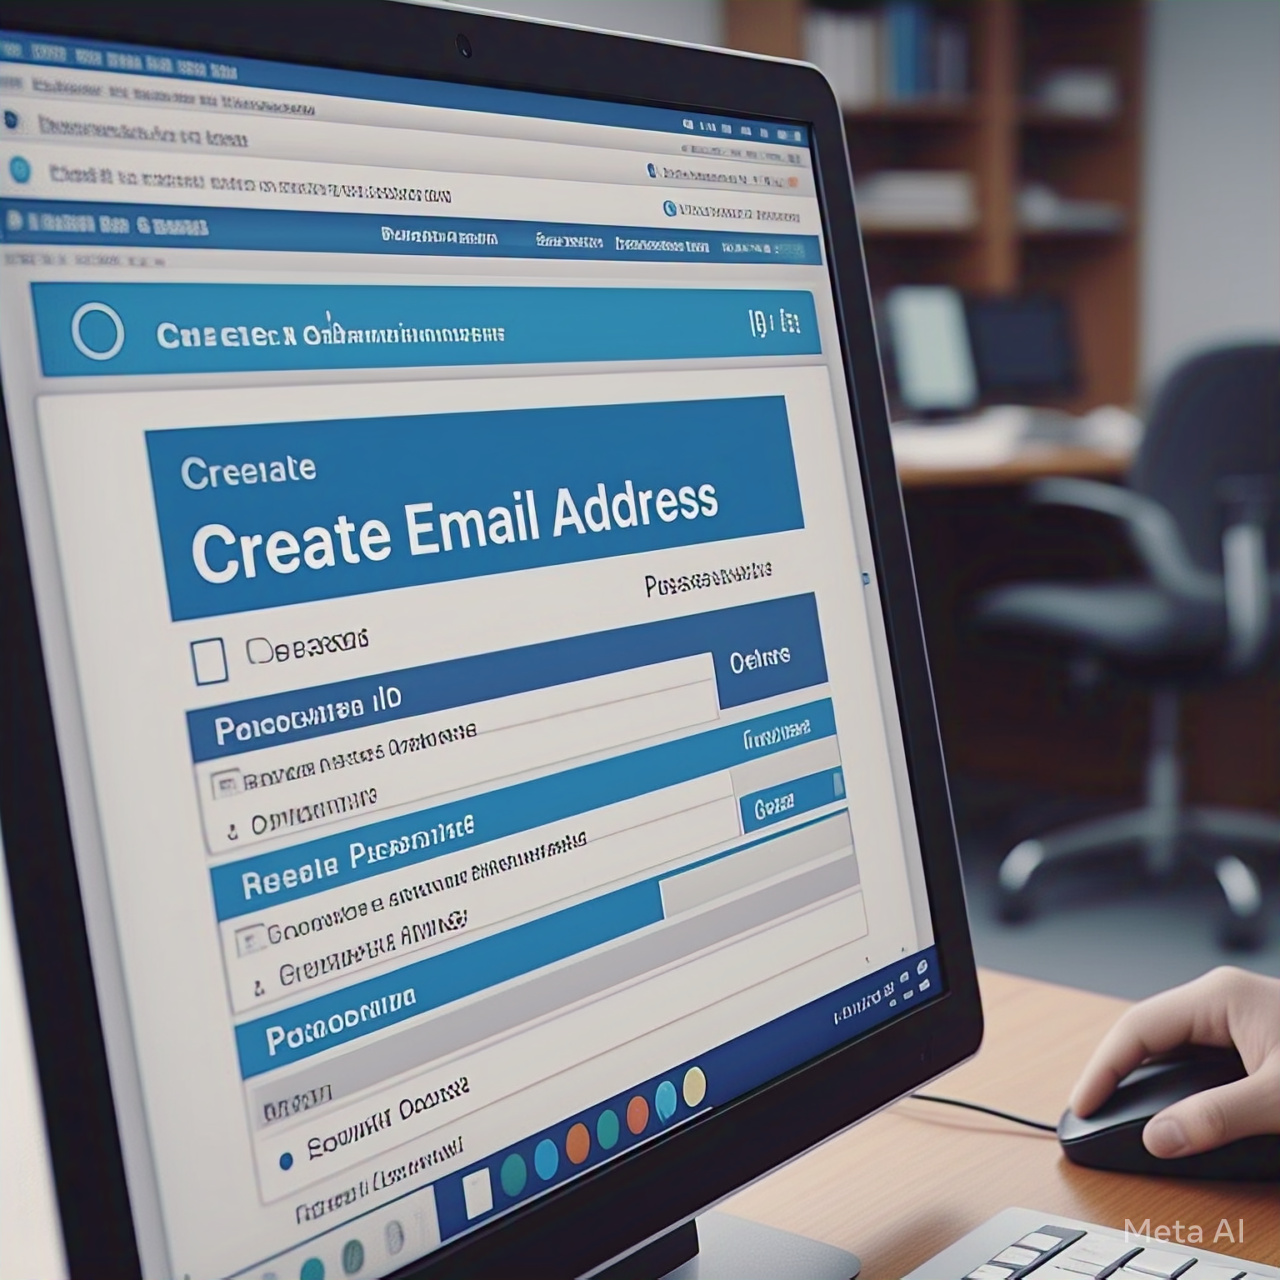
- Click on Email Accounts under this section.
3. Create a New Email Account:
- On the Email Accounts page, you’ll see an option to Create a new email account.
- Click on the Create button.
4. Fill in the Email Details:
- Email: In the text box, enter the username for the email (e.g., if you want an email address like [email protected], you’ll just enter info in this field).
- Domain: If you have multiple domains on your cPanel account, choose the domain for which you want to create the email address.
- Password: Enter a strong password for your new email account. Make sure it meets the required security standards (cPanel will often show you password strength).
- Storage Space: Set the Mailbox Quota (storage space) for the email account. You can set this to Unlimited or specify a specific amount of storage.
5. Optional Settings:
- Catch-All Email Address (Optional): If you want to catch all emails that are sent to an invalid address (e.g., [email protected]), you can configure a catch-all email, but this is optional.
- Email Forwarding (Optional): You can choose to forward incoming emails to another email address if needed.
6. Create the Email Account:
- After filling out the information, click on Create at the bottom of the page.
7. Confirmation:
- cPanel will display a confirmation message that the email account has been created successfully. You can now start using your new email address!
Optional: Access Your New Email Account:
- You can check your new email through Webmail (the web-based email client included with cPanel):
- In cPanel, under the Email Accounts section, find the new email account you created.
- Click Check Email next to the account.
- cPanel will provide you with access to Webmail where you can read and send emails from your new email ID.
Optional: Set Up in Email Clients (Outlook, Mobile, etc.):
To use your new email address in an email client like Outlook, Thunderbird, or a mobile device, you’ll need to configure it with the incoming and outgoing mail server settings provided by your hosting provider.
You’ve successfully created a new email address in cPanel. Let us know if you require any other assistance by commenting!

